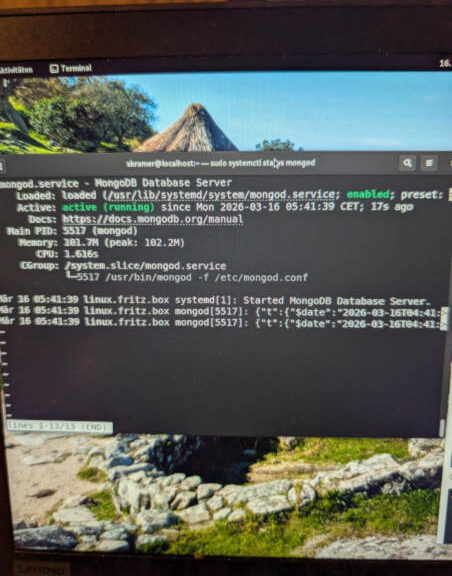
Installation von MongoDB 8.0.19 in AlmaLinux 9.7
English below:
Auf meinem Notebook lief bislang „nur“ die MariaDB – Datenbank. Nun habe ich sie auch mit MongoDB ergänzt und zwar mit einer der neuesten Version. Für AlmaLinux braucht man ein Repo, damit MongoDB installieren.
Wozu braucht man MongoDB?
In erster Linie benutze ich es, um ganz lange Texte zu speichern. Im Gegensatz zu MariaDB ist es keine Tabellen-Datenbank (daher auch ist es auch in NoSQL-Datenbank), die die Daten in Dokumenten speichern und in diesem Fall das BSON-Format. MongoDB wandelt das in das JSON -Format um, damit wir Menschen das besser lesen können.
Es ist aus meiner Sicht, etwas einfacher als bei den normalen SQL-Datenbanken. Dafür sind die Befehle etwas kryptischer und nicht so einfach wie die SQL-Befehle. Das Schwierige sind die vielen Klammern, die man hinzufügen muss.
Grafische Oberfläche
Mit MongoDB Compass gibt es auch ein grafisches Tool für die Dateneingabe oder Auswertung.
Cloud-Variante
Was ich bei den SQL-Datenbanken noch nicht gefunden habe, ist eine Online-Möglichkeit des Speicherns der Daten.
MongoDB ist im Übrigen eine Firma in den USA.
Mit MongoDB Atlas gibt es auch eine Cloud-Variante, wo man auch eine kostenlose Version mit begrenztem Speicherplatz zur Verfügung hat.
Python-Anbindung
Mit pymongo gibt es auch eine Python-Bibliothek zur Anbindung an MongoDB.
Installation
Zuerst muss man sich ein Repo erstellen. Also eine externe Datei, damit AlmaLinux auf die Updates zurückgreifen kann. Ich benutze diese Variante lieber als ständig eine neue Version händisch zu installieren. Meine Lebenszeit ist begrenzt, um sich ständig, mit den neuesten Versionen händisch zu installieren.
sudo vi /etc/yum.repos.d/mongodb.repo
Natürlich geht auch ein anderer Editor, nano, gedit, mousepad und etc..
aufrufen, dann den folgenden Text speichern:
Zuerst in den Editormodus wechseln -> Taste i
[mongodb-org-8.0]
name=MongoDB Repository
baseurl=https://repo.mongodb.org/yum/redhat/9/mongodb-org/8.0/x86_64/
gpgcheck=1
enabled=1
gpgkey=https://pgp.mongodb.com/server-8.0.asc
Anschließend abspeichern. Taste ESC benutzen und dann den Befehl :wq
um vi zu verlassen.
Anschließend die Befehle:
sudo dnf clean all
sudo dnf makecache
(das aktualisiert den Cachespeicher – dann sich etwas hinziehen)
Anschließend
sudo dnf install mongodb-org
Viele Anleitungen setzen noch den Zusatzbefehl y bei sudo dnf install y mongodb-org hin, was eine automatische Installation bedeutet. Ich mache das nur selten, weil ich schon gerne schauen möchte, was da installiert wird, denn schließlich kann ich mich noch spontan umentscheiden, wenn ich es doch nicht möchte oder feststelle, dass die Installationsdateien doch zu alt sind. Kann ja auch mal sein.
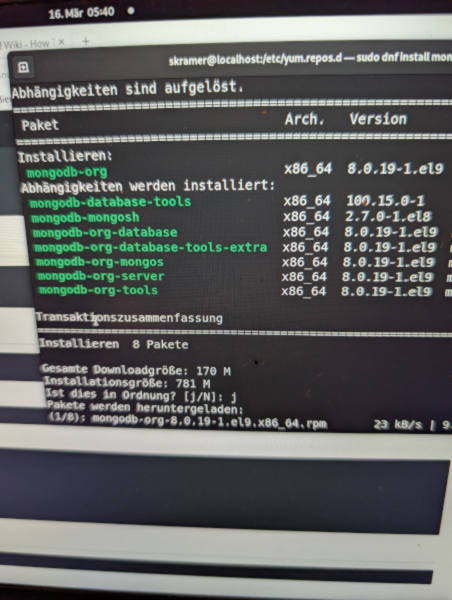
Danach muss man noch den Server starten, also den Service
sudo systemctl start mongod
Damit der Server immer beim Booten startet, kommt der folgende Befehl zum Einsatz.
sudo systemctl enable mongod
Anschließend überprüfen, ob der Server erfolgreich gestartet worden ist.
sudo systemclt status mongod
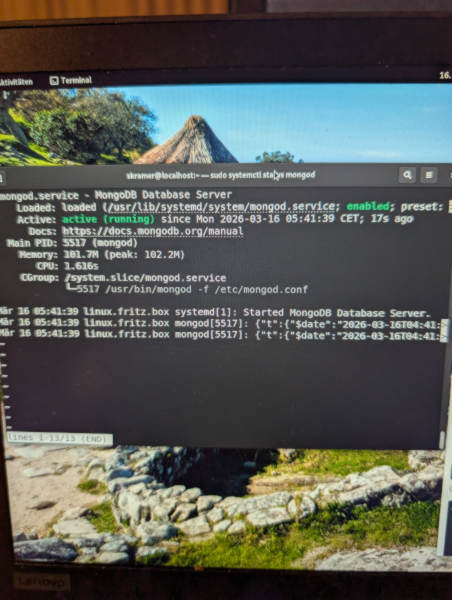
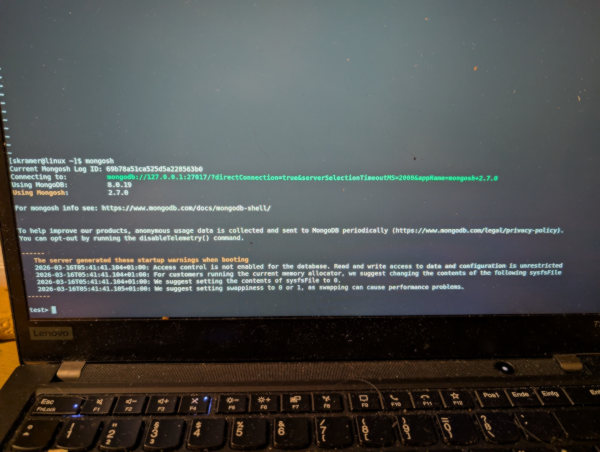
Abschließend kann man dann mit mongosh die MongoDB Shell starten.
Installation of MongoDB on AlmaLinux 9.7
English version
My notebook previously „only“ ran a MariaDB database. Now, I have expanded it with MongoDB, using one of the latest versions. For AlmaLinux, you need a custom repository to install MongoDB.
Why use MongoDB?
First and foremost, I use it to store very long texts. Unlike MariaDB, it is not a relational (table-based) database—making it a NoSQL database. It stores data in documents, specifically using the BSON format. MongoDB then translates this into JSON format so it is easier for us humans to read. From my perspective, it is somewhat simpler than traditional SQL databases. In return, however, the commands are a bit more cryptic and not quite as straightforward as SQL queries. The hardest part is keeping track of all the brackets and braces you have to add.
Graphical Interface
With MongoDB Compass, there is also a graphical tool available for data entry and analysis.
Cloud Version
One thing I haven’t found for SQL databases yet is an easy online storage option. By the way, MongoDB is a US-based company. With MongoDB Atlas, they offer a cloud version that includes a free tier with limited storage space.
Python Integration
With pymongo, there is an excellent Python library available to connect to MongoDB.
Installation
First, you need to set up a repository—essentially an external file that allows AlmaLinux to fetch updates automatically. I highly prefer this method over constantly installing new versions manually. My lifetime is too limited to spend it manually updating versions all the time.
sudo vi /etc/yum.repos.d/mongodb.repo
(Of course, you can use any other editor like nano, gedit, mousepad, etc.)
[mongodb-org-8.0]
name=MongoDB Repository
baseurl=https://repo.mongodb.org/yum/redhat/9/mongodb-org/8.0/x86_64/
gpgcheck=1
enabled=1
gpgkey=https://pgp.mongodb.com/server-8.0.asc
Open the file, then save the repository configuration text. (To write in vi, switch to insert mode by pressing the i key).
After adding the text, save and exit. Press the ESC key, then type :wq to exit vi.
Next, run the following commands: sudo dnf clean all
sudo dnf makecache (This updates the cache, which might take a brief moment).
Then, install MongoDB: sudo dnf install mongodb-org
Many guides include the -y flag (sudo dnf install -y mongodb-org) for an automatic installation without prompts. I rarely do this because I prefer to see exactly what is being installed. After all, I might change my mind at the last second, or notice that the installation files are outdated. You never know.
Finally, you need to start the database server (the service): sudo systemctl start mongod
To make sure the server starts automatically every time you boot your computer, run: sudo systemctl enable mongod
Lastly, verify that the server has started successfully: sudo systemctl status mongod